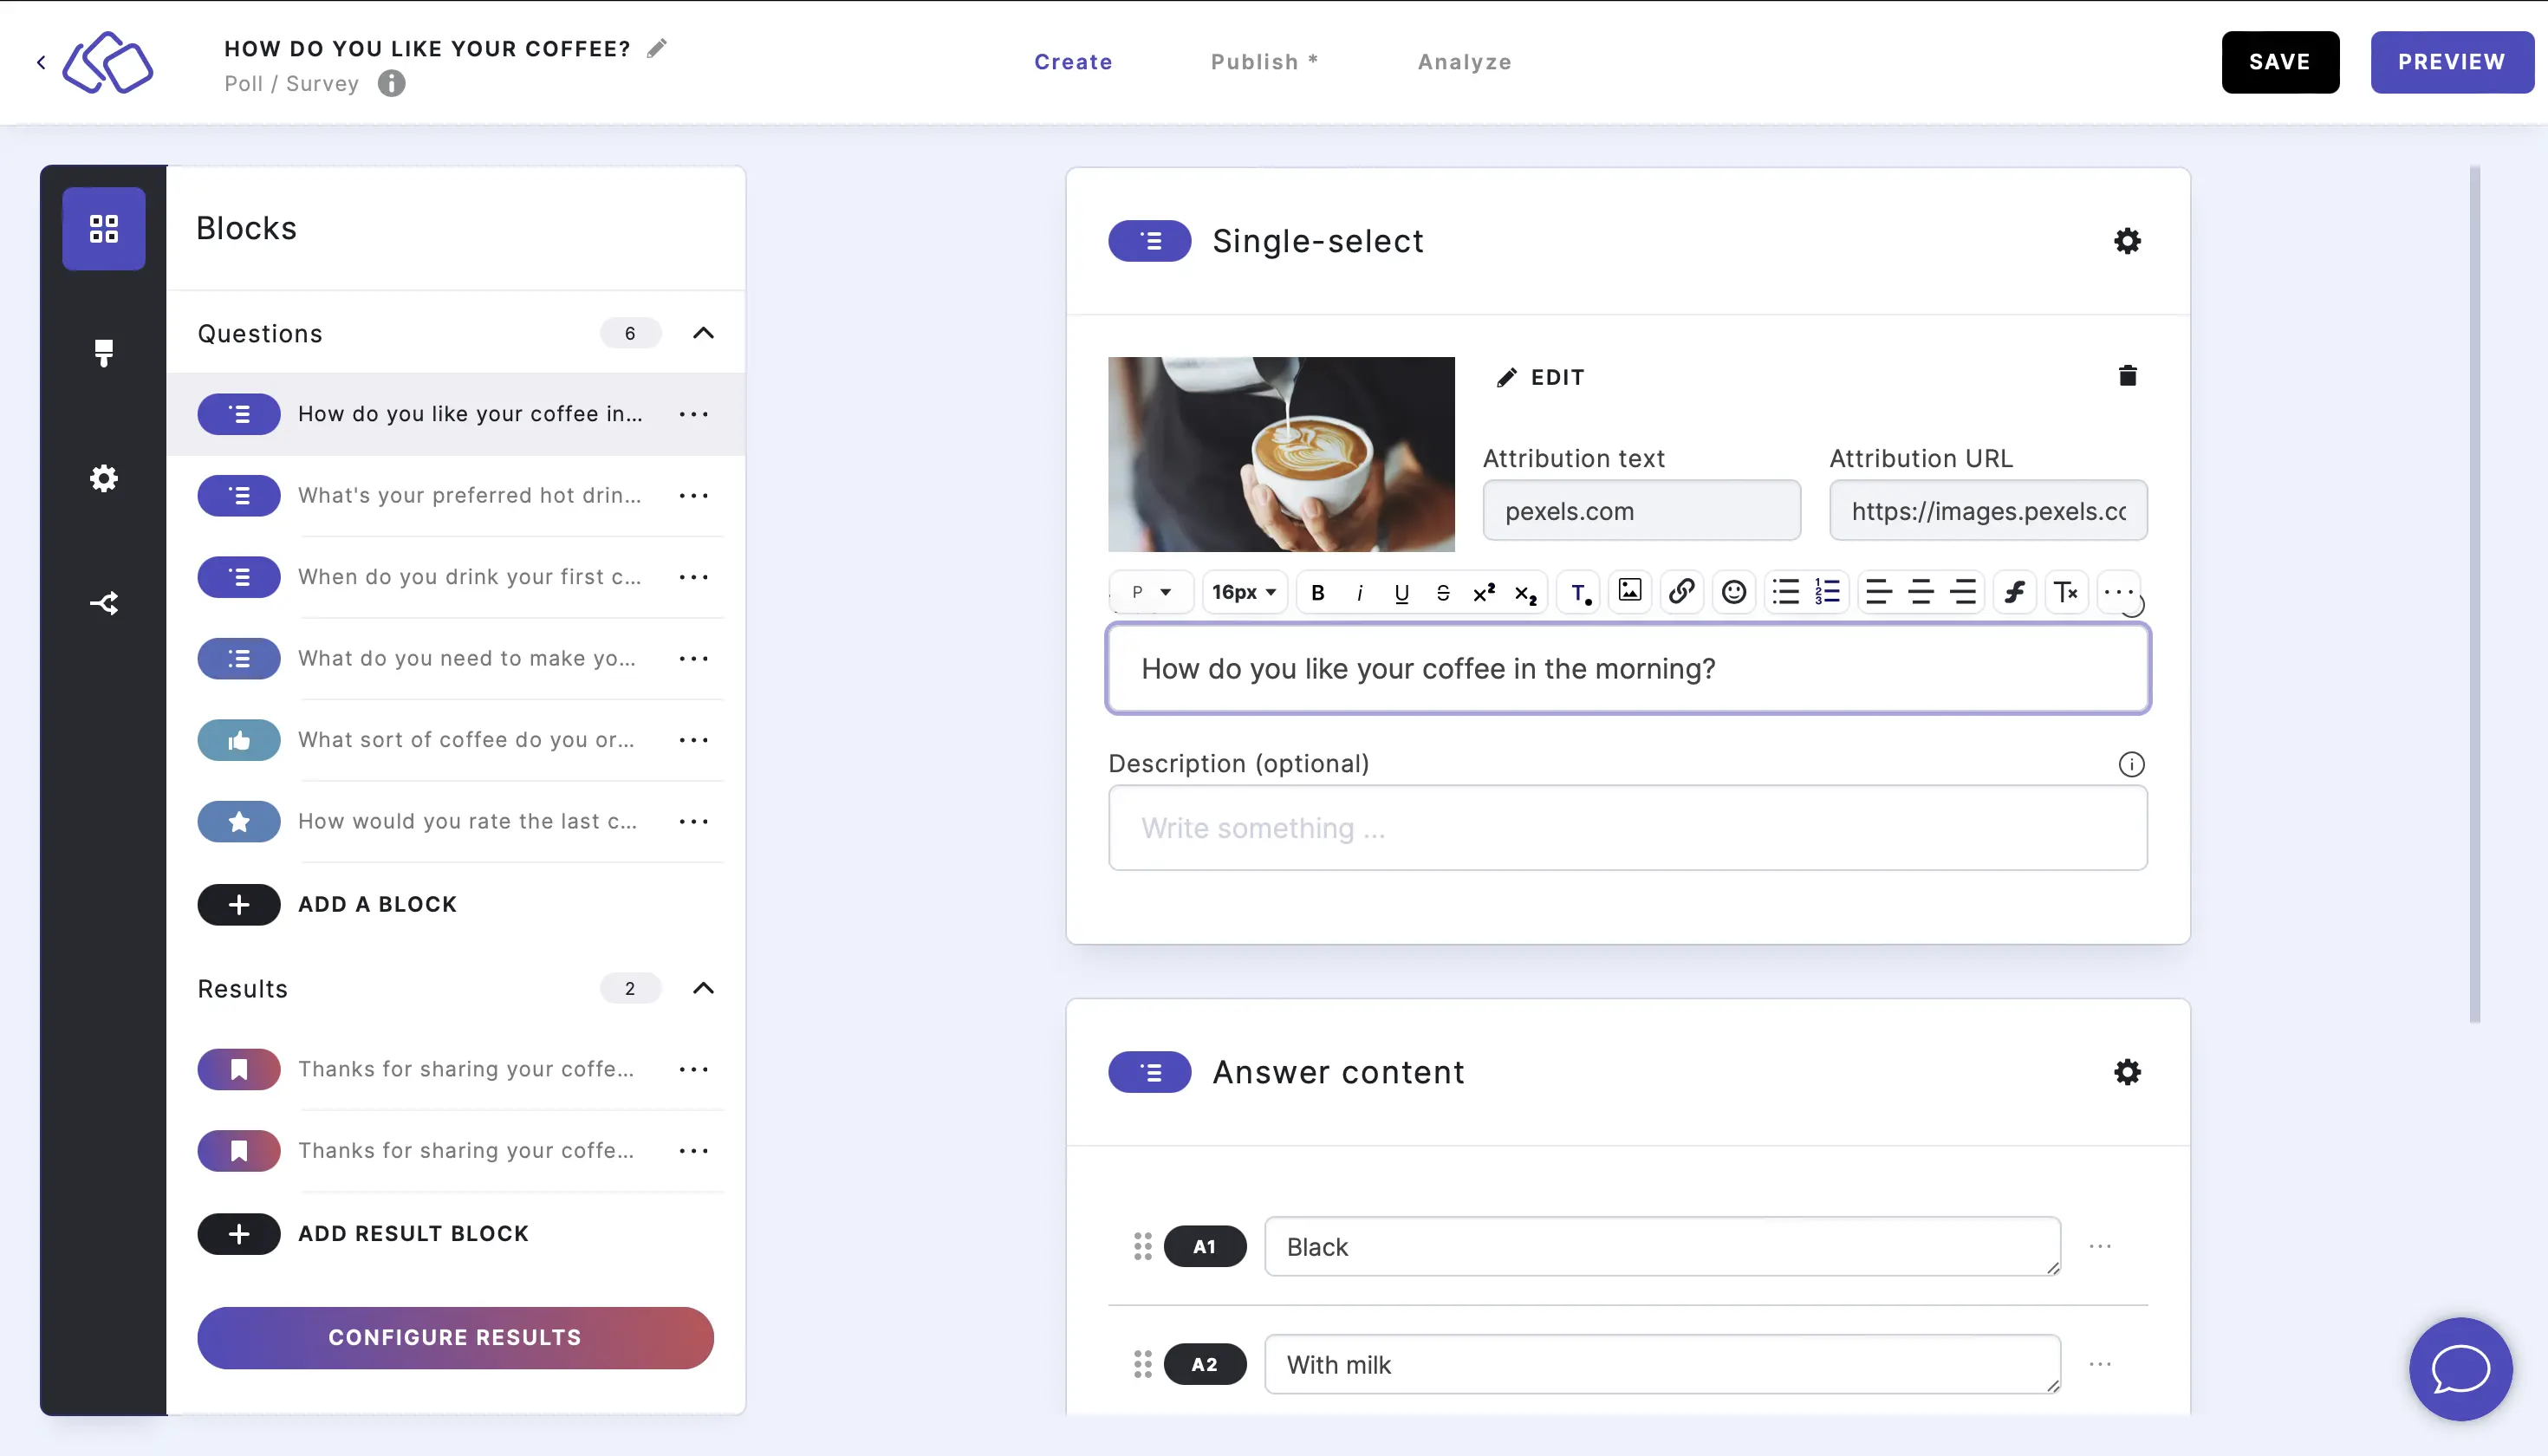
Rich text editor
Format text within your Riddle using the built-in rich text editor (RTE). Use it to add emphasis, change heading levels, adjust font sizes, or insert links. The RTE is available for the following elements in the Creator:
- Titles
- Descriptions
- Answer content descriptions
- Result page text
Change the heading tag/type
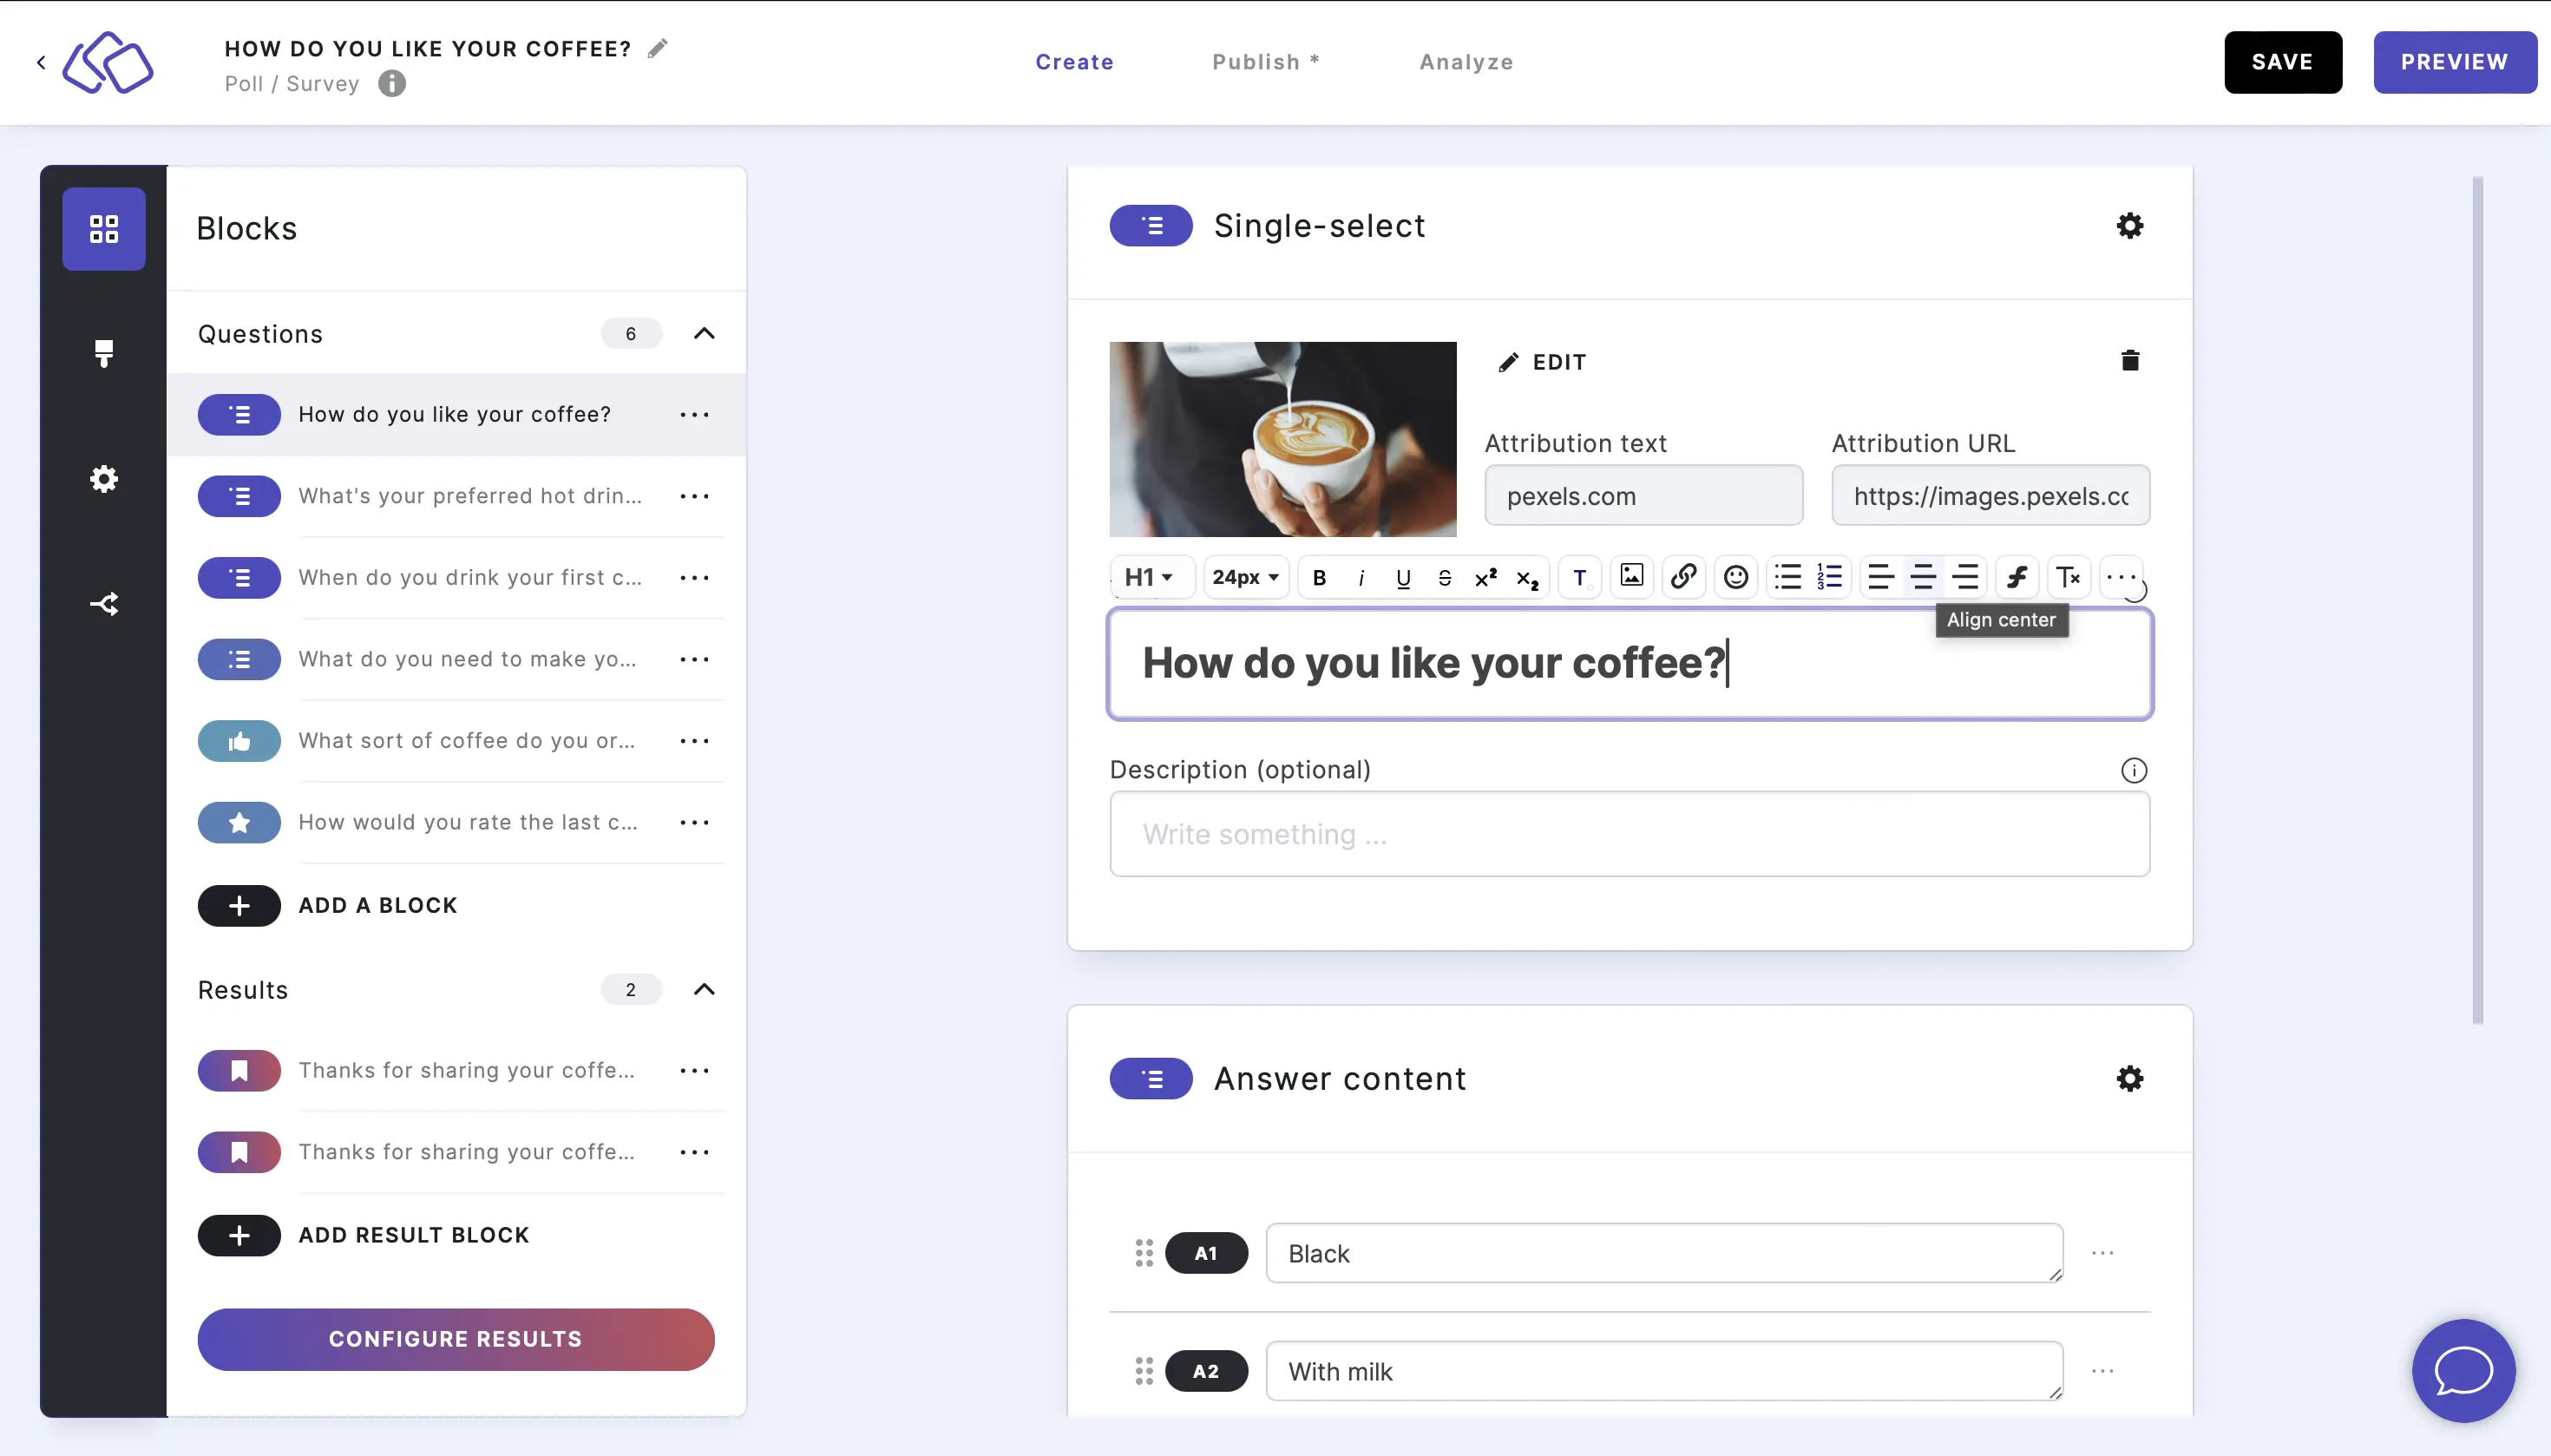
- Click on the text field you want to edit. An RTE options bar will appear above the text field.
- Click on the heading option box top left and select the heading tag/type you would like.

- Any text you then write will have this setting.
- Alternatively, you can apply this setting to existing text by highlighting the text you want to change and following step two.
Change the font size
- Click on the text field you want to edit. An RTE options bar will appear above the text field.
- Click on the px option box and select the font size you would like from the dropdown menu.

- Any text you then write will have this font size.
- Alternatively, you can apply this font to existing text by highlighting the text you want to change and following step two.

Add typographical emphasis
- Click on the text field you want to edit. An RTE options bar will appear above the text field.
- Click on the typographical emphasis you would like to apply. There are three options:
- bold

- italic

- underlined

- bold
- Any text you then write will have this setting.
- Alternatively, you can apply this to existing text by highlighting the text you want to change and following step two.


Apply strikethrough
- Click on the text field you want to edit. An RTE options bar will appear above the text field.
- Click on the
Sicon.
- Any text you then write will no have strikethrough.
- Alternatively, you can apply this to existing text by highlighting the text you want to change and following step two.

Add superscript
- Click on the text field you want to edit. An RTE options bar will appear above the text field.
- Click on the x² icon.

- Any text you then write will be superscript.
- Alternatively, you can apply this to existing text by highlighting the text you want to change and following step two.

Add subscript
- Click on the text field you want to edit. An RTE options bar will appear above the text field.
- Click on the x₂ icon.

- Any text you then write will be subscript.
- Alternatively, you can apply this to existing text by highlighting the text you want to change and following step two.

Change text color
- Click on the text field you want to edit. An RTE options bar will appear above the text field.
- Click on the T. icon, select the color you would like from the dropdown color menu, and click on APPLY.

- Any text you then write will be this color.
- Alternatively, you can apply this color to existing text by highlighting the text you want to change and following step two.

Insert an image
- Click on the text field you want to edit. An RTE options bar will appear above the text field.
- Click on the image icon.

- Select an image source. There are three to choose from:
- UPLOAD
- GOOGLE SEARCH
- PEXELS
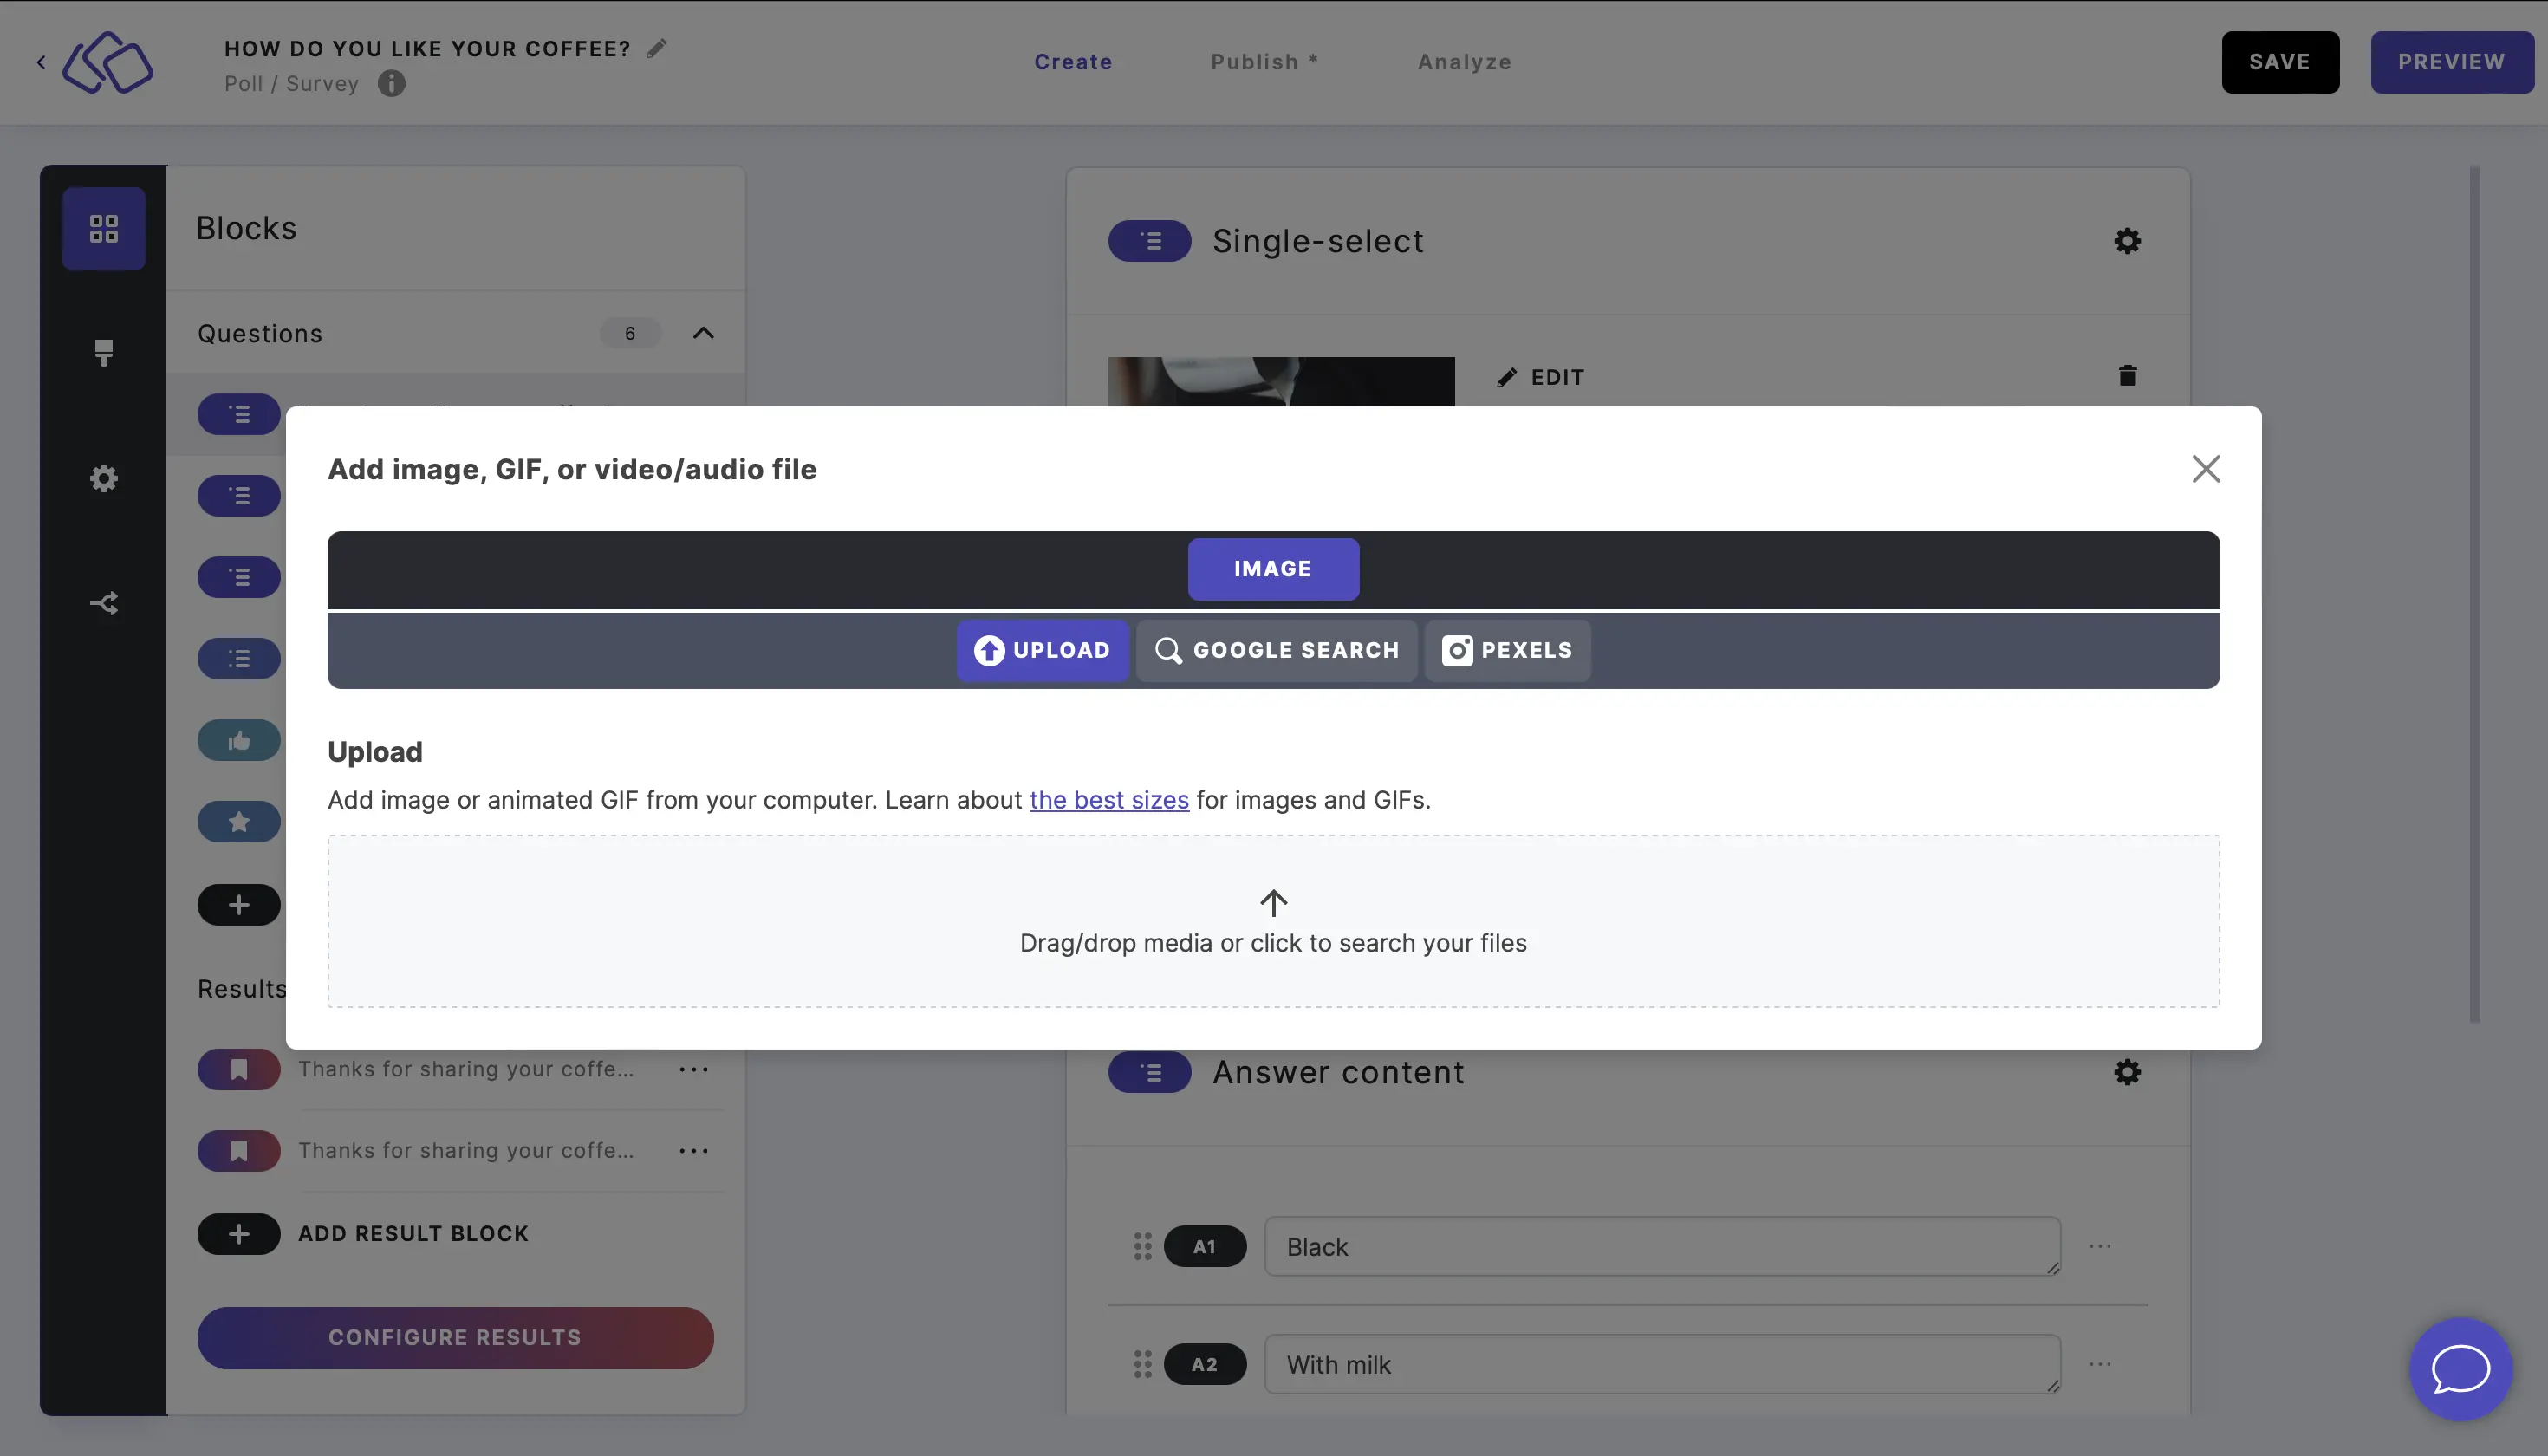
- For UPLOAD, drap/drop and image to this field, or click to search your files and select an image.
For GOOGLE SEARCH and PEXELS, type your search entry into the search field, and select an image. - The image will now be in your text field.

Hyperlink text
- Click on the text field you want to edit. An RTE options bar will appear above the text field.
- Click on the 🔗 icon.

- In the pop-up that appears, enter the URL for the website you'd like the text to link to, disable or enable new tab, and click on SAVE.
When enabled, the website will open in a new tab and the tab with the Riddle will remain as it is for the audience.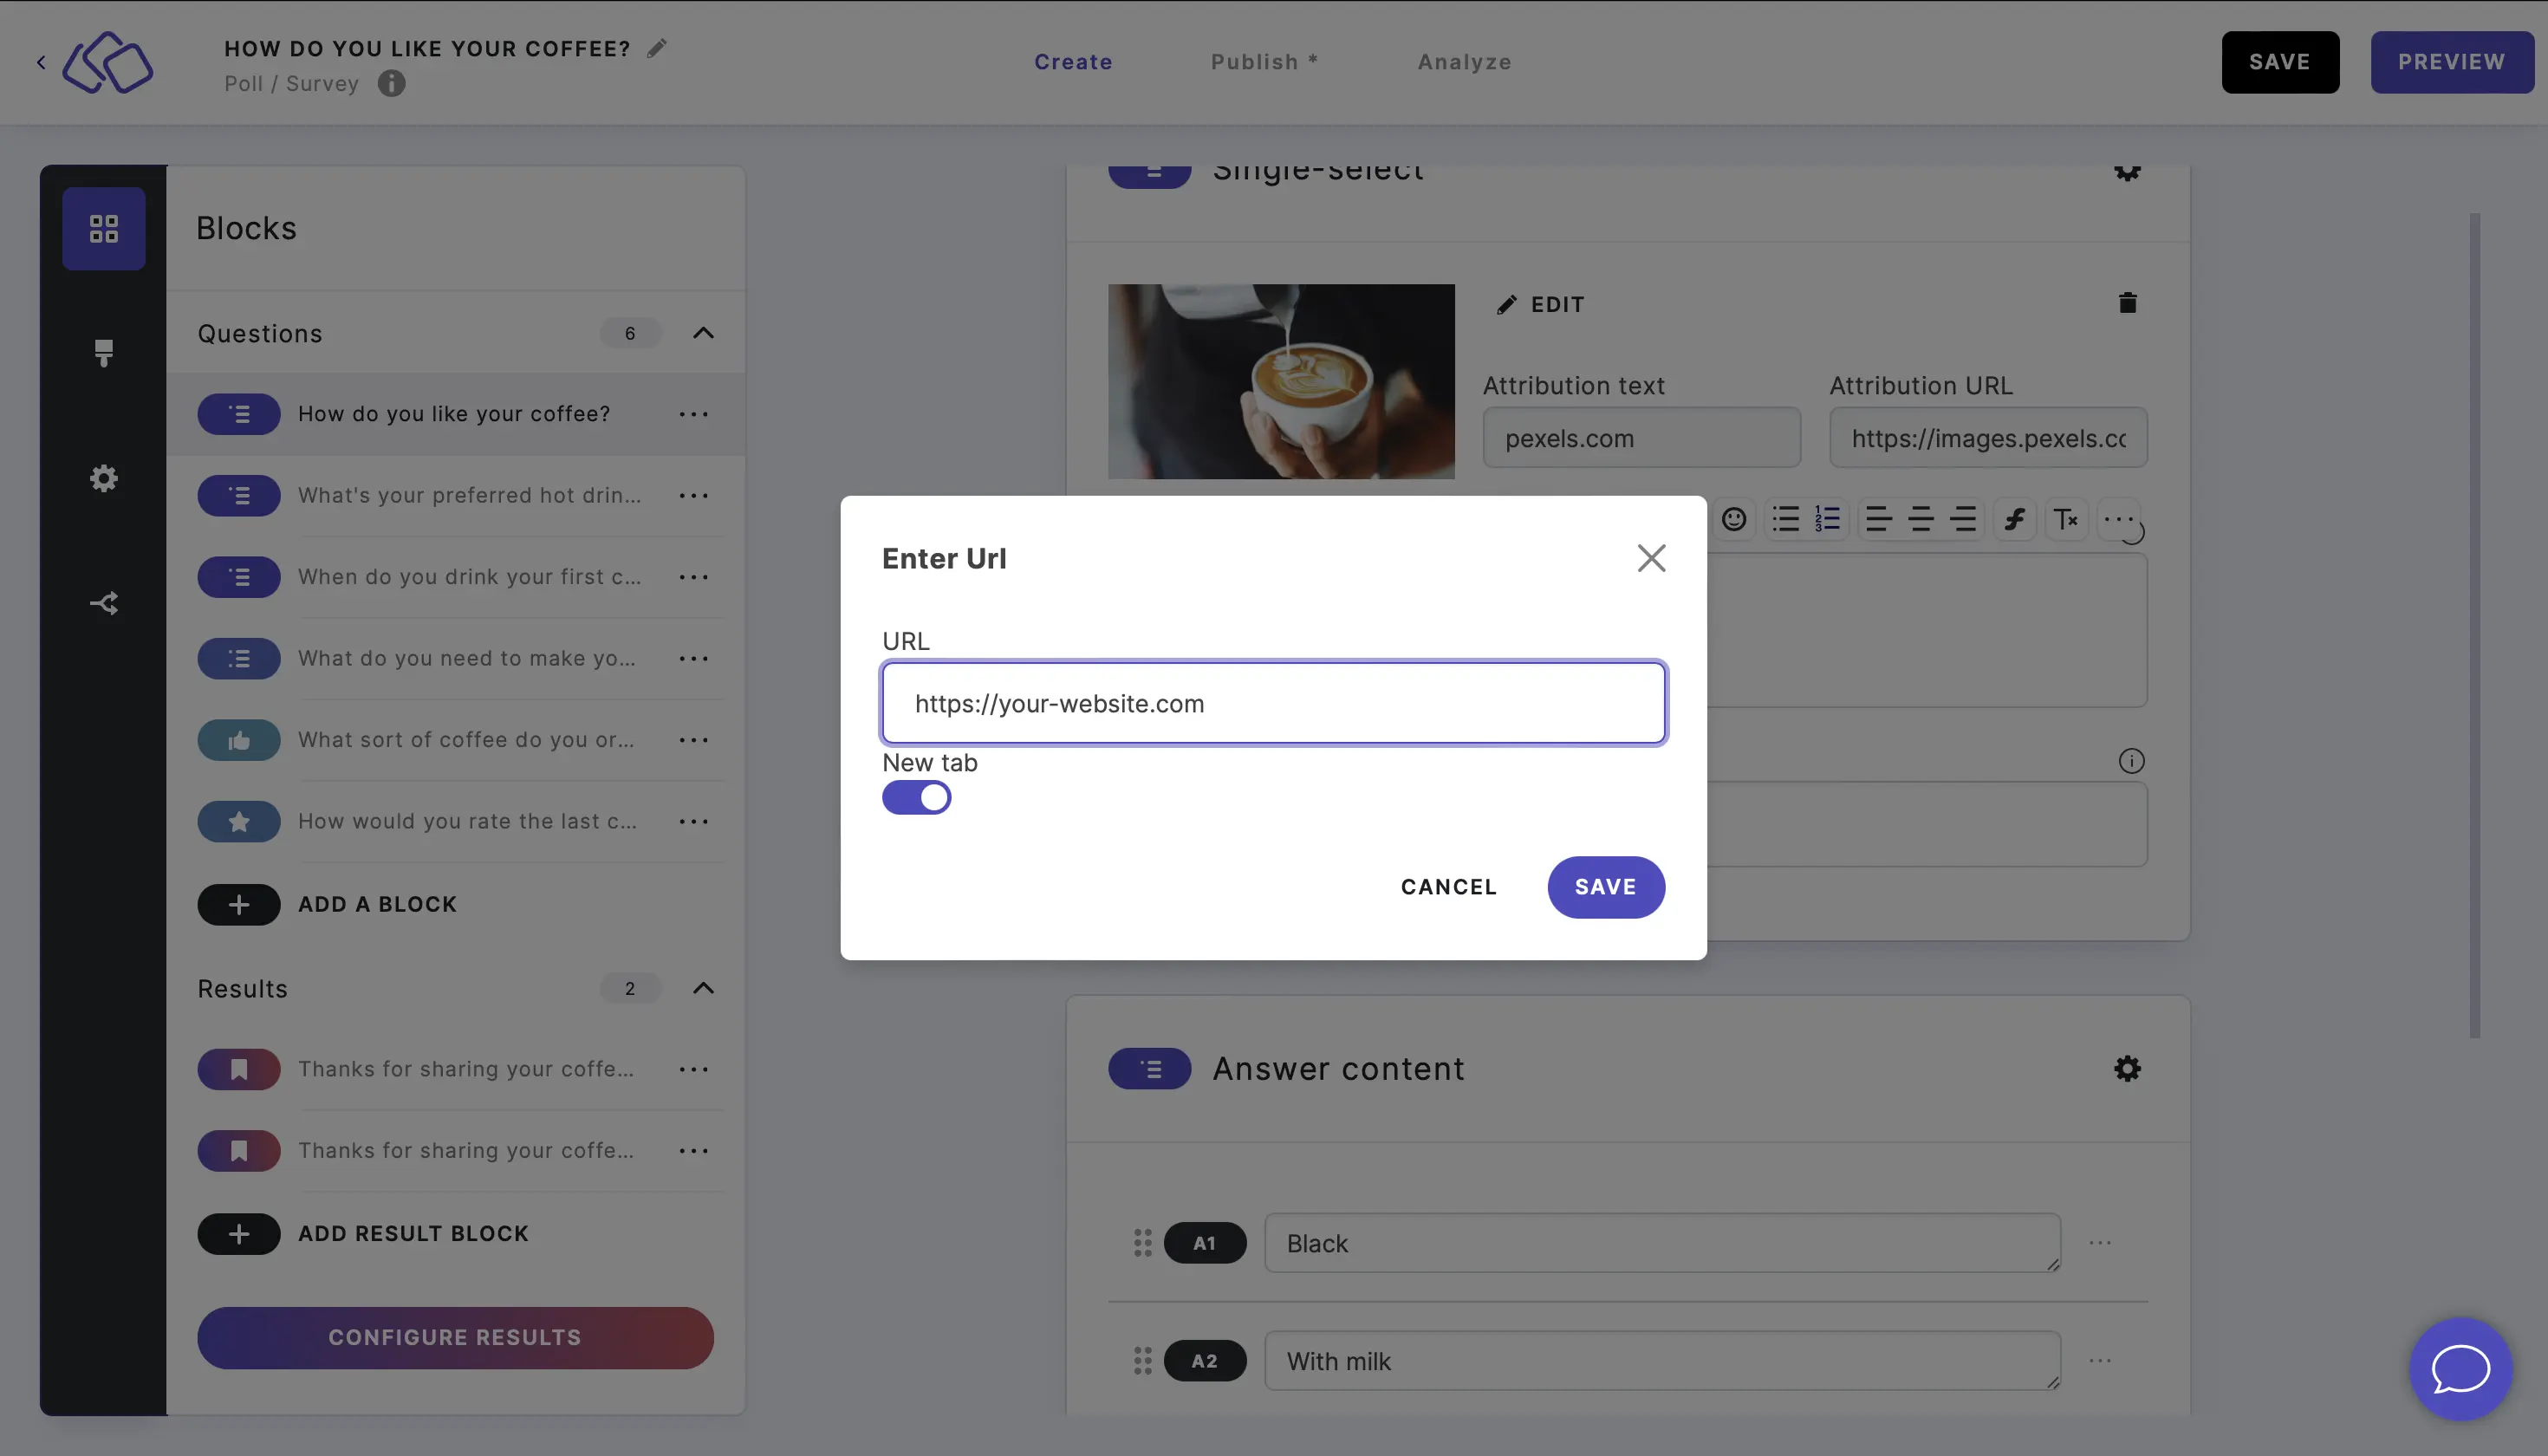
- Any text you then write will be linked to this website.
- Alternatively, you can apply this hyperlink to existing text by highlighting the text you want to change and following steps two to five.
Insert an emoji
- Click on the text field you want to edit. An RTE options bar will appear above the text field.
- Click on the 🙂 icon.

- Select an emoji from the dropdown menu, using the search field if necessary.
- The emoji will now be in your text field.

Add a list
- Click on the text field you want to edit. An RTE options bar will appear above the text field.
- Click on the list type you would like. There are two list options:
- bullet point list
- item 1
- item 2
- item 3

- numbered list
- item 1
- item 2
- item 3

- bullet point list
- The list will be in your text field.


- Click on the same symbol again to stop the list.
Align text
- Click on the text field you want to edit. An RTE options bar will appear above the text field.
- Click on the alignment you would like. There are three alignment options:
- align left

- align center
- align right

- align left
- The alignment will apply to the whole line of text.

Add variables
- Click on the text field you want to edit. An RTE options bar will appear above the text field.
- Click on the ƒ icon and select the variable you would like to add. There are three sorts of variables to choose from:
- form fields
- block answers
- data layer

- The variable will be in your text field.

Clear styles
All styles that might be copied with text from other sources such as Microsoft Word are now stripped automatically. However, you can also do this manually.
- Click on the text field you want to edit. An RTE options bar will appear above the text field.
- Click on the ••• icon top right and select the Tˣ icon.

- This will strip any previous formatting or styling, such as copied and pasted text from Microsoft Word.

Indent text
- Click on the text field you want to edit. An RTE options bar will appear above the text field.
- Click on the ••• icon top right and select indent.

- Any text you then write will be indented.
- Alternatively, you can apply this indent to existing text by highlighting the text you want to change and following step two.
Outdent text
- Click on the text field you want to edit. An RTE options bar will appear above the text field.
- Click on the ••• icon top right and select outdent.

- Any text you then write will be outdented.
- Alternatively, you can apply this outdent to existing text by highlighting the text you want to change and following step two.

Insert a background color
- Click on the text field you want to edit. An RTE options bar will appear above the text field.
- Click on the ••• icon top right and select background color.

- Select the color you would like from the dropdown color menu, and click on APPLY.
- Any text you then write will have this background color applied.
- Alternatively, you can apply this color to existing text by highlighting the text you want to change and following steps two and three.
Edit HTML
- Click on the text field you want to edit. An RTE options bar will appear above the text field.
- Click on the ••• icon top right and select edit HTML.

- In the pop-up that appears, you can edit the HTML code for this text field as much as you like. You can also:
- use CSS classes
- add tables
- Click on FORMAT CODE and then SAVE.
- For more CSS editing, go to our CSS help guides.
Table of Contents